 Front 700 / 550 Grizzly Lift Kit Instructions
-Lift the ATV off the ground with a good ATV lift jack
-Remove the top shock mounting bolts on both sides of the machine using a 14mm and 17mm wrench or sockets and pull the top end of the shock towards the wheels out of the way of the factory mounting bracket.
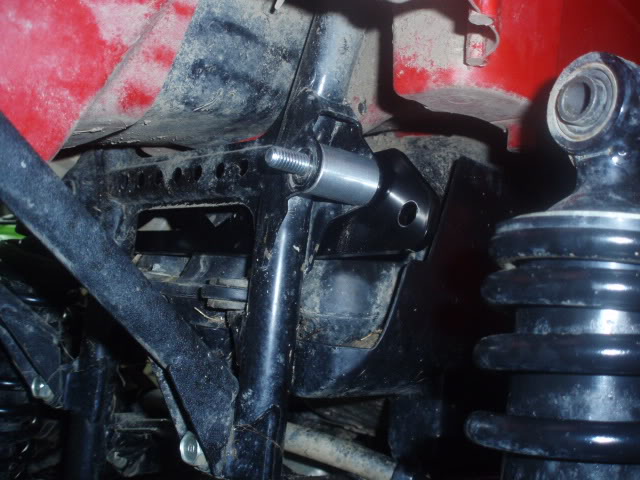
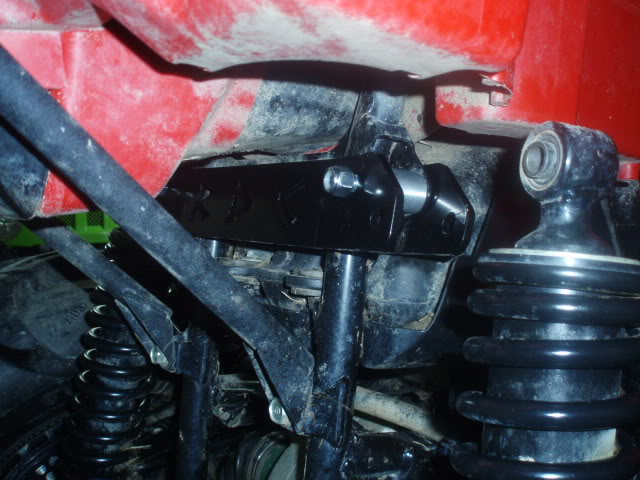
-Slide Plate # 1 into place. NOTE: If you have the power steering model, you may need to remove the small plastic shroud on the steering unit, there are 2 bolts holding it in place.
-On both sides of the ATV, put a bolt through the top holes of plate #1, through the first side of the factory shock mount, through one of the aluminum spacers and then through the second side of the factory shock mount. This is done with the bolts pointing towards the front of the machine.


-To slide Plate # 2 into position, you will have to remove the 2 plastic wire clips along the cross member of the frame, I used a flat screw driver and just pushed them from the side until they snapped loose
-Once you have the plate all the way through the machine, slide the 2 bolts through plate #2 and put a nut on each of the 2 bolts,
BUT KEEP THEM LOOSE
-Now you can put the shock into place and put a bolt through plate #1, the shock, and plate #2, some slight down pressure on the tire may be required to get the bolt through both plates and the shock, once you do this on both sides, you can tighten up all 4 bolts, tighten them evenly like you would when installing a wheel.
 Rear Yamaha 700 / 550 Grizzly Lift Instructions
-Lift the ATV off the ground with a good ATV lift jack
-Remove the top shock mounting bolts on both sides of the machine using a 14mm and 17mm wrench or sockets and pull the top end of the shock towards the wheels out of the way of the factory mounting bracket.
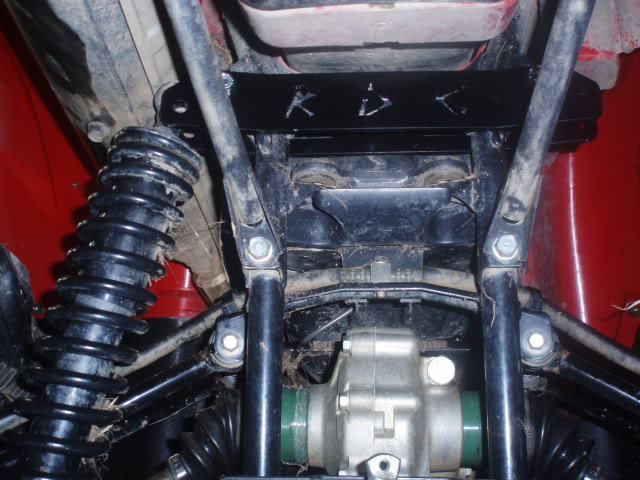
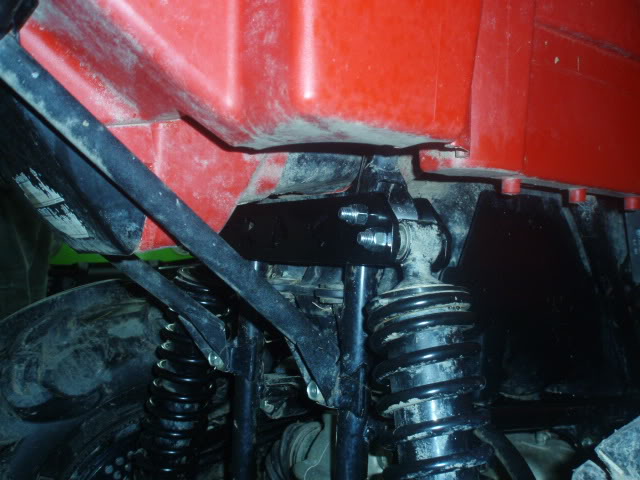
-Slide Plate # 3 into place as pictured. Slide it though from the right side of the machine, opposite side of the muffler
-On both sides of the ATV, put a bolt through the top holes of plate #3, through the first side of the factory shock mount, through one of the aluminum spacers and then through the second side of the factory shock mount. This is done with the bolts pointing towards the rear of the machine.

-Put Plate # 4 into position so that the "R D C" can be seen and read if you are standing behind the ATV and put a nut on the 2 bolts, but keep them loose.


-Now you can put the shock into place and put a bolt through plate #3, the shock, and plate #4, some slight down pressure on the tire may be required to get the bolt through both plates and the shock, once you do this on both sides, you can tighten up all 4 bolts, tighten them evenly like you would when installing a wheel.


Before and After!!!
 Höjningssatsen hittar ni på Go Offroad
 Klicka här
