Honda Rincon FRONT Lift InstructionComplete lift kit, however it now comes in Aluminum Silver for color.
![Rubberdown höjning Honda Rincon 100_3777](https://2img.net/h/i489.photobucket.com/albums/rr258/gooffroad_photo/tech/100_3777.jpg)
-Remove Tires
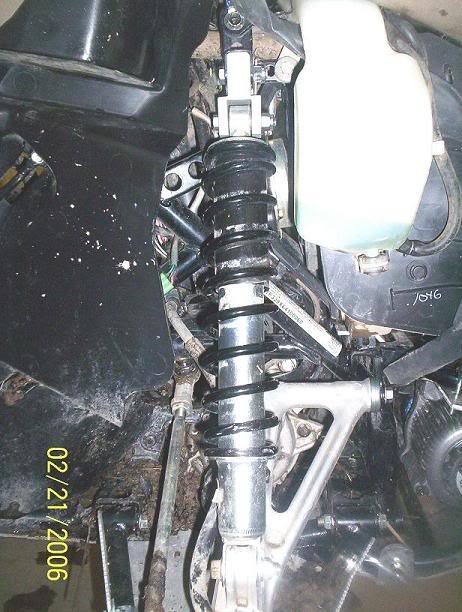
-Remove top shock bolt (Fig. 1)
![Rubberdown höjning Honda Rincon Fig1](https://2img.net/h/i489.photobucket.com/albums/rr258/gooffroad_photo/tech/Fig1.jpg)
-Remove bottom shock bolt (Fig. 2)
![Rubberdown höjning Honda Rincon Fig2](https://2img.net/h/i489.photobucket.com/albums/rr258/gooffroad_photo/tech/Fig2.jpg)
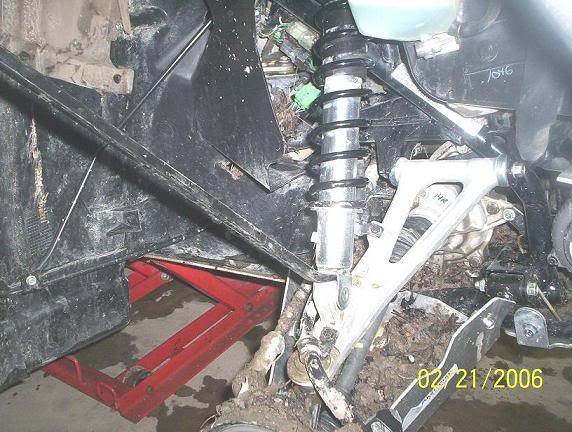
-Insert the slimmer front lift block into the original upper shock mounting position (Fig. 3)
![Rubberdown höjning Honda Rincon Fig3](https://2img.net/h/i489.photobucket.com/albums/rr258/gooffroad_photo/tech/Fig3.jpg)
-Bolt upper end of the shock into the lift block (Fig. 4)
![Rubberdown höjning Honda Rincon Fig4](https://2img.net/h/i489.photobucket.com/albums/rr258/gooffroad_photo/tech/Fig4.jpg)
-Bolt lower shock into position using one of the following 2 methods….
*(method with spring compressors) –Compress the spring enough to put the lower shock back into its mounted position
*(method without spring compressors)-Use a pry bar to pry the spring up a little bit and tap it into position with a plastic or rubber mallet. (See Fig.#5)
![Rubberdown höjning Honda Rincon Fig5](https://2img.net/h/i489.photobucket.com/albums/rr258/gooffroad_photo/tech/Fig5.jpg)
-Put front tires back on.
Rear Kit-Remove tires
-Remove seat
-Remove top shock bolt (Fig. 6)
![Rubberdown höjning Honda Rincon Fig6](https://2img.net/h/i489.photobucket.com/albums/rr258/gooffroad_photo/tech/Fig6.jpg)
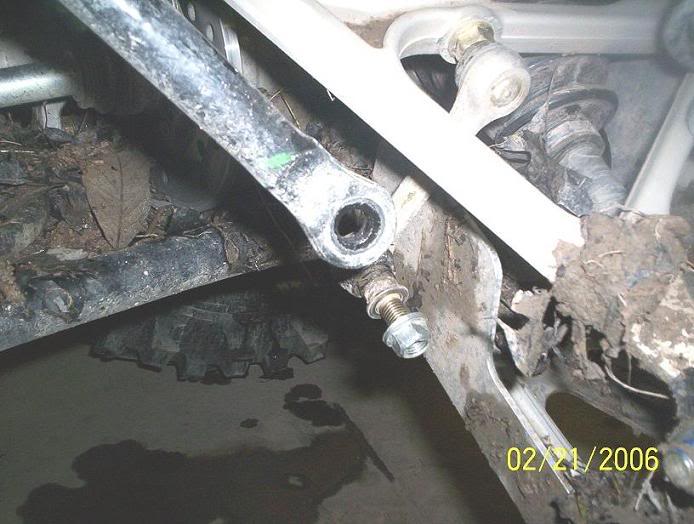
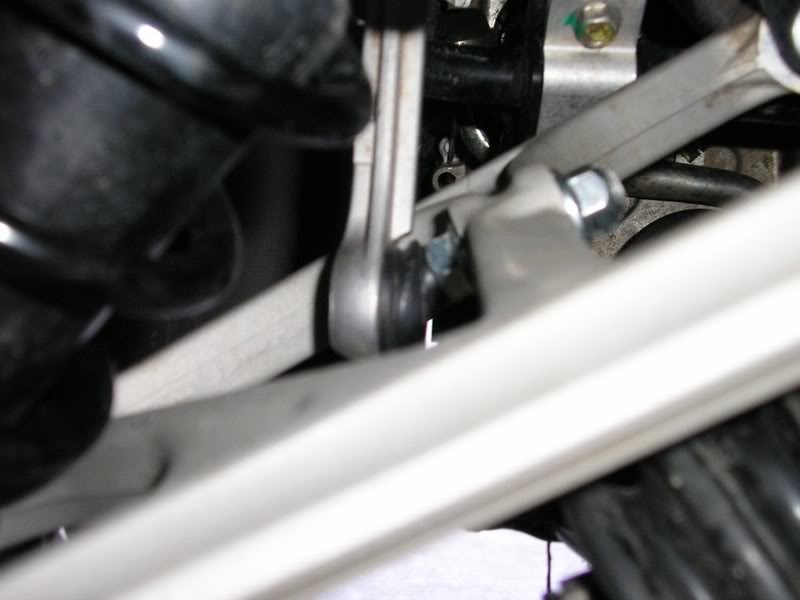
-Disconnect the tortion bar joint (Fig. 7 & 8 )
![Rubberdown höjning Honda Rincon Fig7](https://2img.net/h/i489.photobucket.com/albums/rr258/gooffroad_photo/tech/Fig7.jpg)
![Rubberdown höjning Honda Rincon Fig8](https://2img.net/h/i489.photobucket.com/albums/rr258/gooffroad_photo/tech/Fig8.jpg)
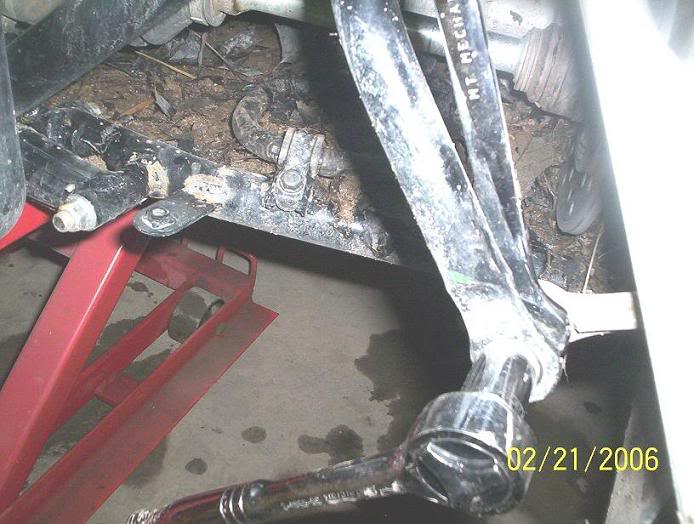
-Let the joint hang down freely (Fig. 9)
![Rubberdown höjning Honda Rincon Fig9](https://2img.net/h/i489.photobucket.com/albums/rr258/gooffroad_photo/tech/Fig9.jpg)
![Rubberdown höjning Honda Rincon Swaybarrelocation-1](https://2img.net/h/i489.photobucket.com/albums/rr258/gooffroad_photo/tech/swaybarrelocation-1.jpg)
![Rubberdown höjning Honda Rincon Swaybarrelocation-2](https://2img.net/h/i489.photobucket.com/albums/rr258/gooffroad_photo/tech/swaybarrelocation-2.jpg)
-Using spring compressors to compress the spring and pull the top end of it out towards the wheel well
-Install the lift block in the top shock mounting position. You must feed the new bolts in from the front to the back of the quad so that the nut goes on closer to the back of the quad.
-Bolt the top of the shocks into the lift blocks.
-Use a floor jack to lift up on the wheel hub so you can bolt the tortion bar assembly back together
-Put tires back on
-GO PLAY IN THE MUdFinns att köpa på Go Offroad Klicka här